Amazon seller success is easier said than done. If you’re thinking about starting to sell on Amazon but feel a little like you’re about to jump in headfirst with your eyes closed, our Amazon FBA for beginners guide can help.
In the two-plus decades since it was founded, Amazon has taken over more than 49% of the entire e-commerce market — that’s more than eBay, Apple, and Walmart combined. As of Q2 2020, 53% of products sold on Amazon were sold by third-party sellers, highlighting an excellent opportunity for those interested in starting an online business.
So naturally, having an Amazon Seller Account is the best route to becoming a successful online seller, right?
Let this be your guide, and you’ll be up and running in no time!
Types of Amazon Seller Accounts
The first step in your “Amazon FBA for beginners” journey is deciding what kind of Amazon seller you want to be.
There are two different types of Amazon seller accounts on: individual and professional. Each has its own costs and set of perks. For example, an individual plan is best if you plan on selling fewer than 40 items a month, and it comes with no monthly subscription fee. However, the Amazon individual seller fee is 99 cents per item you sell.
If you want to sell more than 40 items a month, you should opt for a professional plan. The Amazon professional seller monthly fee is a flat $39.99, which replaces the 99 cents per-item fee. As a professional seller, you can also offer gift wrap for all your products and avoid shipping rates for everything except media.
For both plans, be prepared to pay referral fees for every item. Some categories have a per-item minimum referral fee, which you’ll have to pay if the item’s standard per-item fee is lower. Any media items you sell will also be subject to variable closing fees, whether you’re on an individual or professional selling plan.
Quick tip: If you don’t have products to sell immediately, you can save money by starting with an individual plan. The process of manufacturing and shipping your first product can take a few months, so you don’t need to start paying the $39.99 monthly fee before you’re actually selling. Just switch over to a professional selling plan in your account settings shortly before your inventory arrives to Amazon’s warehouses.
What to Have on Hand Before You Get Started
Once you’ve chosen a plan, the next items on your Amazon FBA for beginners checklist will be your information. Specifically, Seller Central will ask you for your:
- Business name and address (you can be a sole proprietor, limited liability corporation, or corporation)
- Phone number
- Chargeable credit card and valid bank account
- Tax information*
*If you’re a U.S. taxpayer, you’ll provide a W-9 or W-8BEN form when completing the tax interview in your seller account. Your Employer Identification number (EIN) or Social Security number (SSN) will be registered as your Taxpayer Identification number (TIN).
If you’re a foreign seller, you’ll still need to complete a tax interview. The responses you provide will create the appropriate form for you. According to Amazon, “IRS regulations require non-U.S. taxpayers to provide Form W-8BEN to Amazon in order to be exempt from U.S. tax reporting requirements.”
How to Create an Amazon Seller Account
Now that you’ve got everything ready, visit Seller Central and register your account of choice! To do that, you’ll go through four main setup processes:
1. Seller Agreement
If you’re registering as an individual seller, use your full legal name. As a business, enter the business’s registered name and your full name (e.g., Seller Inc., John Smith). Then, read the Amazon Services Business Solutions agreement and check the box to agree.
2. Seller Information
Here, you’ll add the granular details of your business, including the address and the “business display name” you want to be displayed on your profile and item listings. If you decide to change the name later, you can do so at any time from the “account info” tab in Seller Central settings.
3. Billing/Deposit Information
Enter your credit card information into the billing section. If you’ve registered as a professional seller, the first monthly subscription fee of $39.99 will be charged immediately. You’ll also need to provide a valid bank account as your deposit method.
4. Tax Information
In addition to validating your W-9 or W-8BEN form and U.S. taxpayer status, your tax interview will also require you to clarify who’ll receive income from Amazon or its subsidiary (individual or business). If you’re a sole proprietor or single-member LLC, select “individual.”
A Look Through Seller Central
Now that you’ve signed up, it’s time to navigate the vast world of Seller Central! Your dashboard gives you easy access to all the information about your account, and you can tweak it for optimal functionality. At the top of the dashboard, you’ll find the following:
- Catalog: to add products to your account
- Inventory: to manage your in-stock units
- Pricing: to manage product prices
- Orders: to see who ordered what and when
- Advertising: to boost your products’ exposure, manage campaigns, enhance and promote content, and more
- Storefront: to manage your registered brand pages
- Reports: to see data on sales, inventory, fulfillment, and more
- Performance: to analyze customer satisfaction indications
- Appstore: to use additional tools from Amazon and external developers
- Settings: to edit your account info, preferences, settings, and permissions
From the dashboard, you can receive flag notifications in the top left corner or view important news at the center of the screen. At the top center, you can select the appropriate marketplace and country.
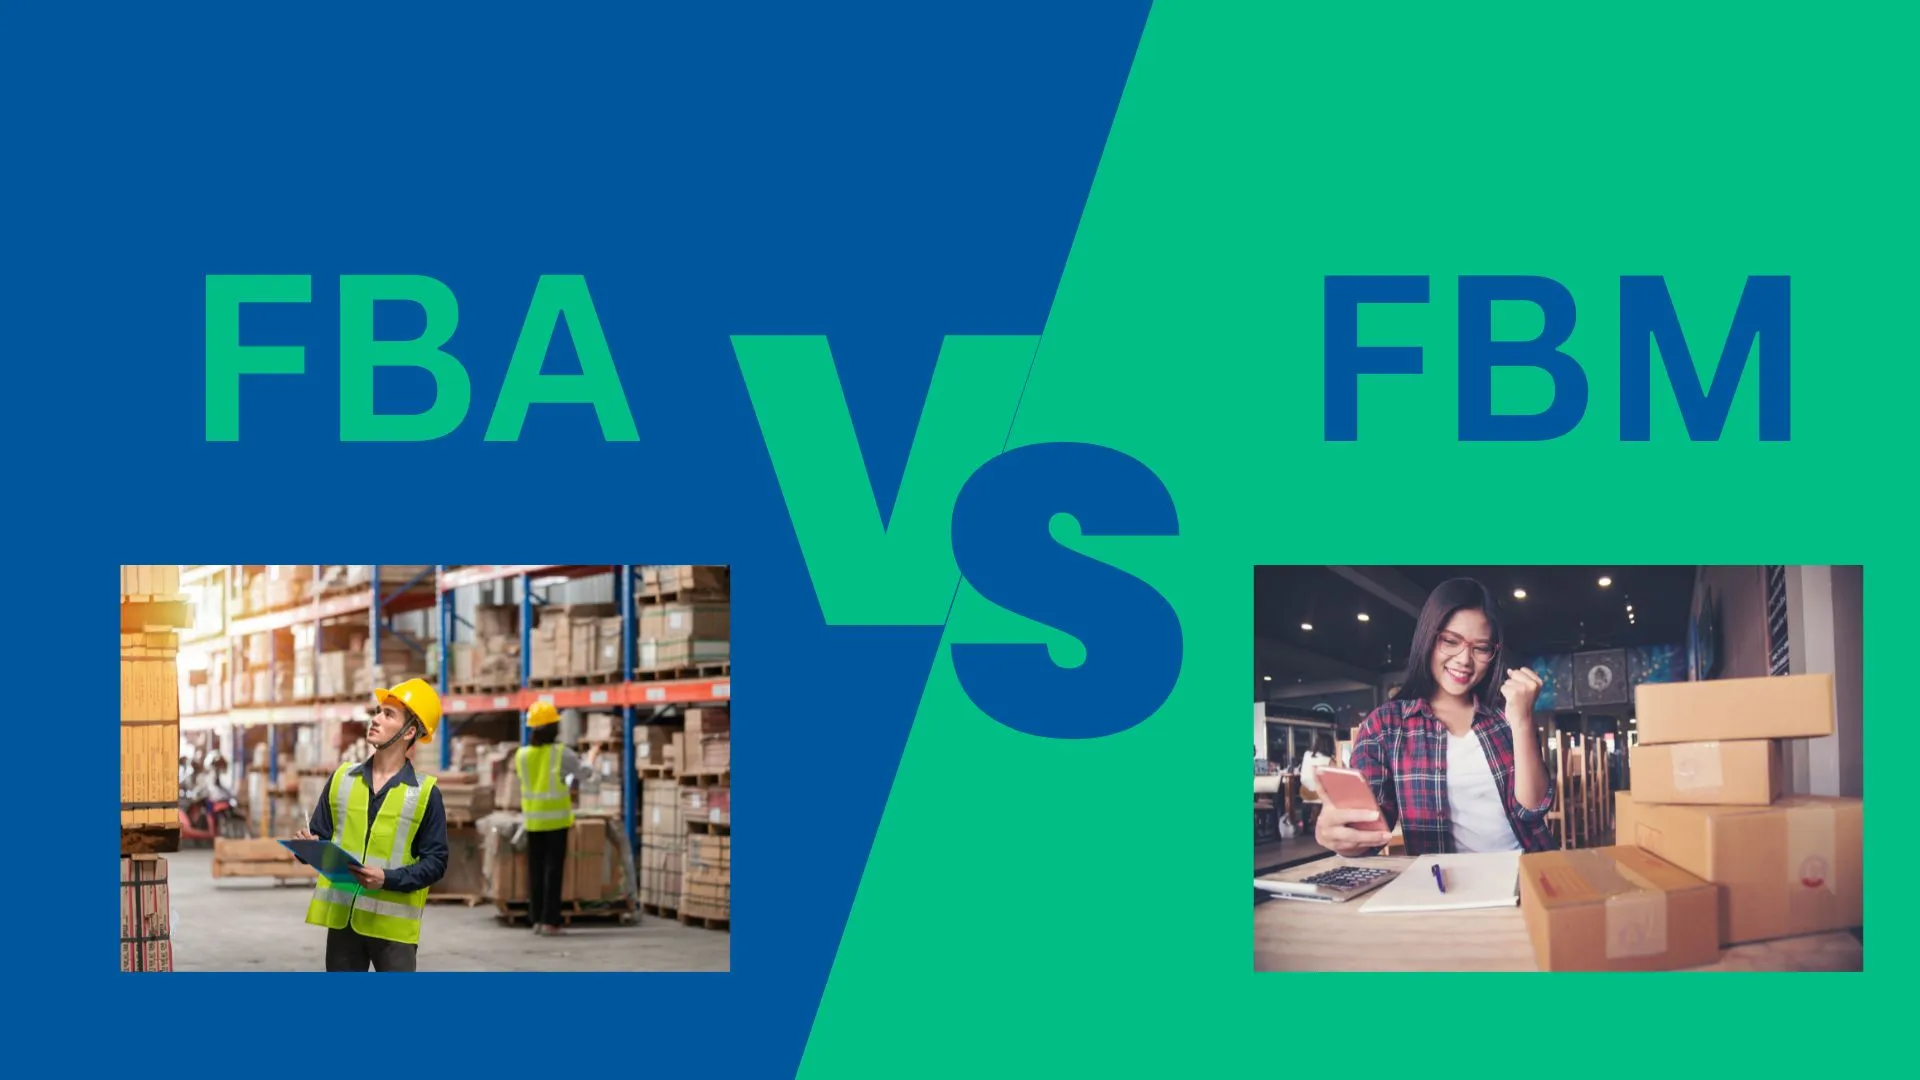
The “your orders” tab to the left gives you a quick breakdown of unshipped orders and orders made through Fulfillment by Merchant (FBM) and Fulfillment by Amazon (FBA). Recent payments and current balance information are available to the right, next to the “news” box.
If you haven’t already, you’ll need to select a product to sell. You can simplify the process by leveraging one of Viral Launch’s product research tools to choose one and a service like Alibaba to find a manufacturer for it. You can add new products to Seller Central from the “catalog” tab and choose the product’s category, listing copy, UPC code, price, images, and more.
E-commerce can be scary, especially if you aren’t familiar with how to get started selling on Amazon. Follow this Amazon FBA for beginners guide to choose the kind of seller account you want, have your relevant bank and tax information handy, and take time to familiarize yourself with the dashboard. Before you know it, you’ll be selling like a seasoned Amazon pro.
Looking for even more Amazon FBA for beginners step-by-step instructions? Enroll in the FREE How to Sell on Amazon course today!